Small bathrooms feel cramped and outdated when you don’t know the design tricks that make tight spaces work. These small bathroom ideas for 2026 show you how to use floating vanities, smart storage, modern fixtures, and warm materials to create small bathroom layouts that feel twice their size. Save these small bathroom remodel ideas for your next update.
The 5×7 Problem Nobody Talks About
Most small bathrooms measure somewhere between 5×7 and 6×8 feet, and here’s what happens: you walk in, the door hits the vanity, the toilet crowds the shower, and you’re left wondering how anyone expects you to make this work. I’ve measured dozens of these spaces, and the issue isn’t the square footage – it’s that builders treat small bathrooms like an afterthought, cramming in standard fixtures without considering how a real person moves through the room.
The difference between a small bathroom that feels claustrophobic and one that feels intentional comes down to three decisions: where you put the visual weight, how you handle the vertical space, and whether you’re brave enough to go bigger with certain elements instead of smaller. I’m going to walk you through 17 small bathroom ideas that work with the dimensions you have, not against them. We’ll cover layouts, tile choices, storage that doesn’t eat into your floor space, and the fixtures that make the biggest difference when every inch matters.
Floating Vanities Make Small Bathrooms Feel Twice The Size
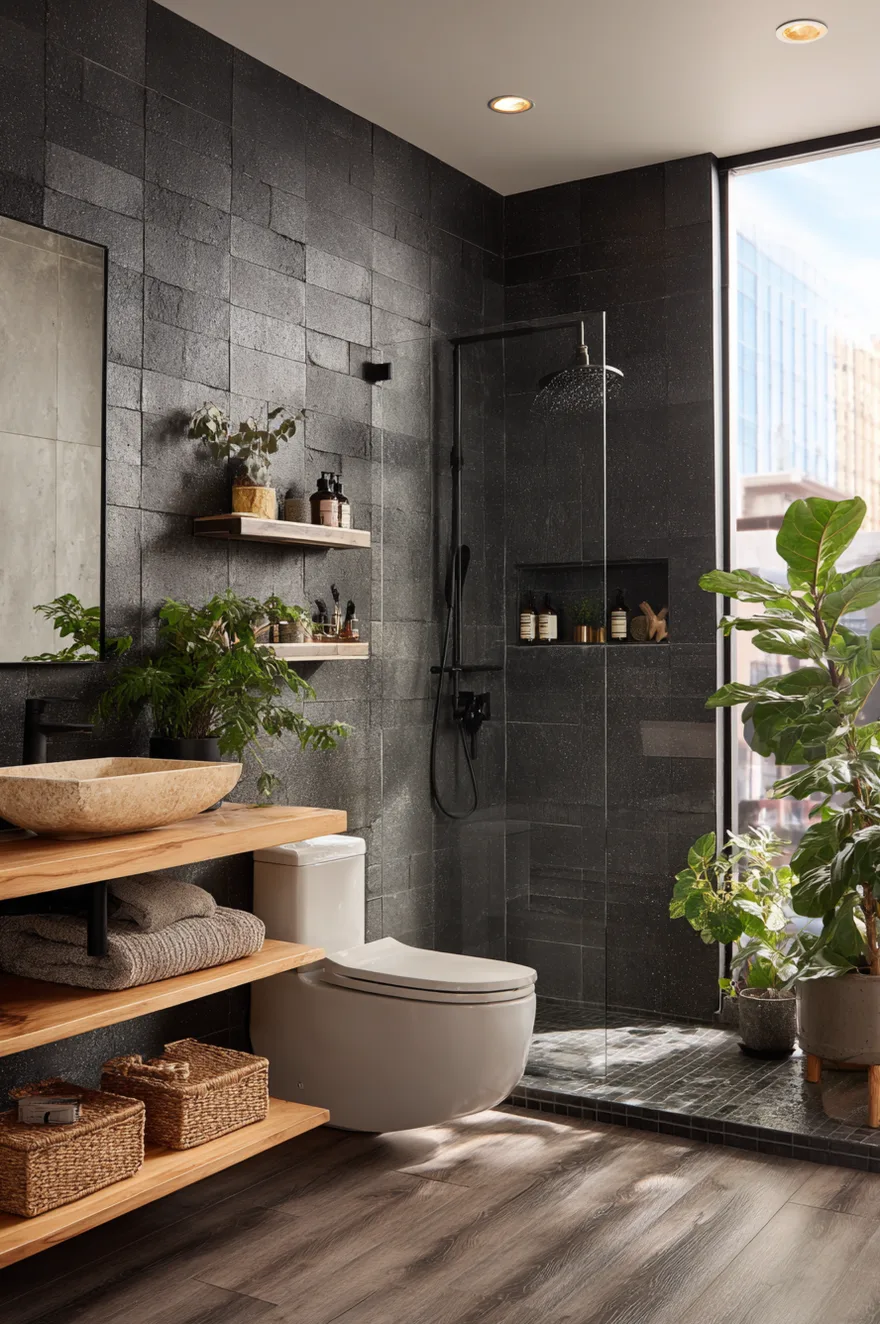
A floating vanity changes the entire geometry of a small bathroom because it exposes the floor underneath, and your eye reads that continuous floor line as more space. I’ve seen 5×8 bathrooms gain a psychological 20 square feet just from swapping a floor-standing vanity for a wall-mounted one.
Go with a 36-inch floating vanity in warm wood – walnut or white oak with visible grain. The wood adds warmth without visual weight, and 36 inches gives you enough counter space for daily necessities without overwhelming the room. Mount it 32 to 34 inches from the floor so there’s clearance underneath, and if you can, add a recessed LED strip along the bottom edge. That indirect light makes the vanity look like it’s hovering.
Pair it with a vessel sink instead of an undermount. The vessel sink sits on top of the counter, which means you can use a shallower vanity depth – 18 inches instead of the standard 17. Those three inches matter when you’re trying to preserve walking space. White ceramic or matte concrete both work, depending on whether you want the sink to disappear or become a focal point.
Walk-In Showers Without Doors Open Up The Room
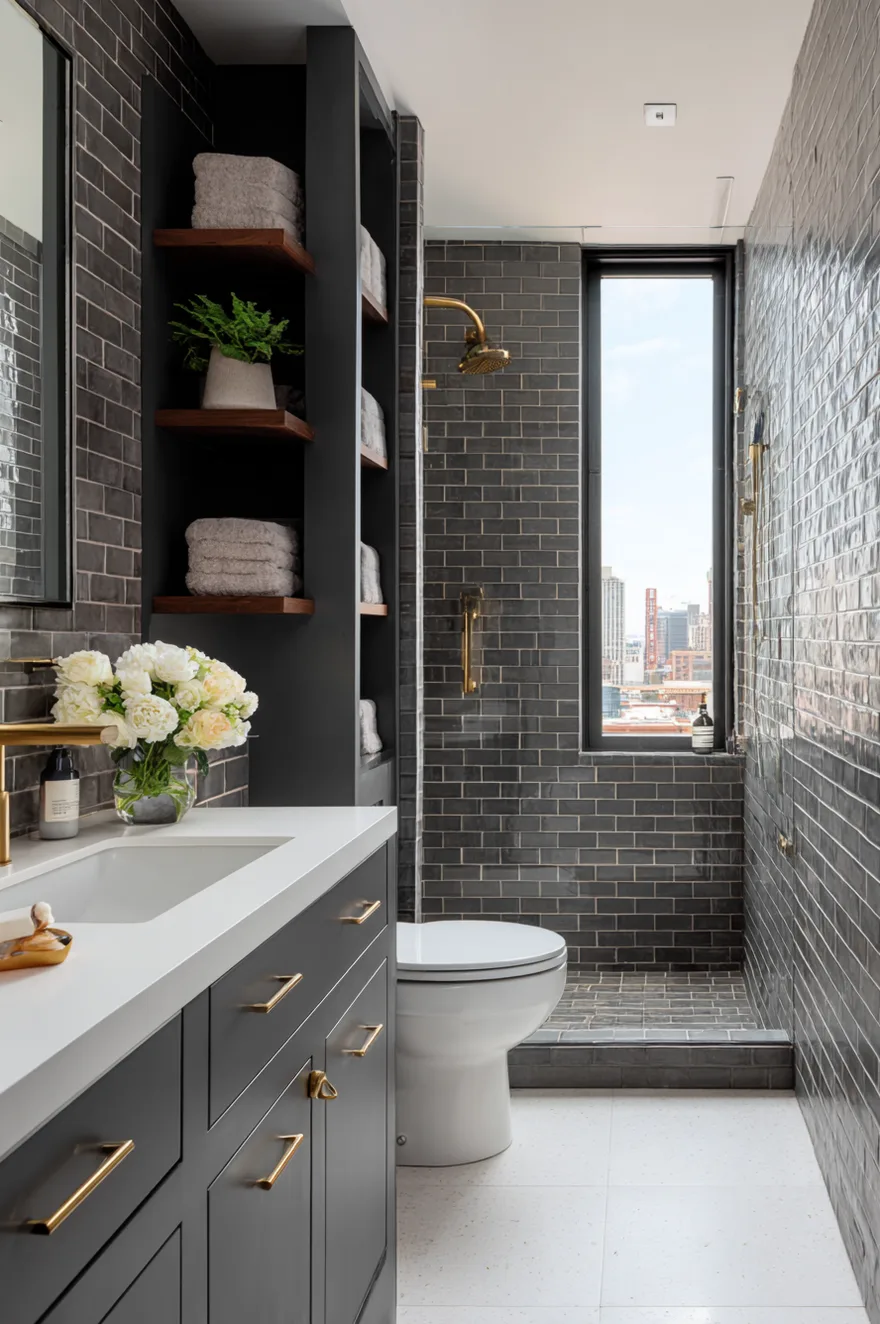
Curbless walk-in showers with a single glass panel instead of a full enclosure are the layout move that makes the most difference in small bathrooms. A traditional shower with a curb and a framed door visually chops the room into sections. A walk-in shower with no curb and minimal glass lets your eye travel all the way to the back wall, which makes the whole space feel continuous.
You need proper slope on the floor – a minimum 2% grade toward the linear drain – or you’ll have water pooling issues. The tile setter needs to build that slope into the mortar bed before tile goes down. I’ve walked projects where this step got skipped, and the homeowner ended up with standing water every time they showered.
For the glass, use a single fixed panel that’s about 30 to 36 inches wide, mounted parallel to the showerhead wall. This blocks most of the water spray without closing off the space. Skip the door entirely. Matte black hardware on the glass panel ties into black faucets and keeps the look cohesive.
Small Bathroom Tile Ideas That Make Walls Recede
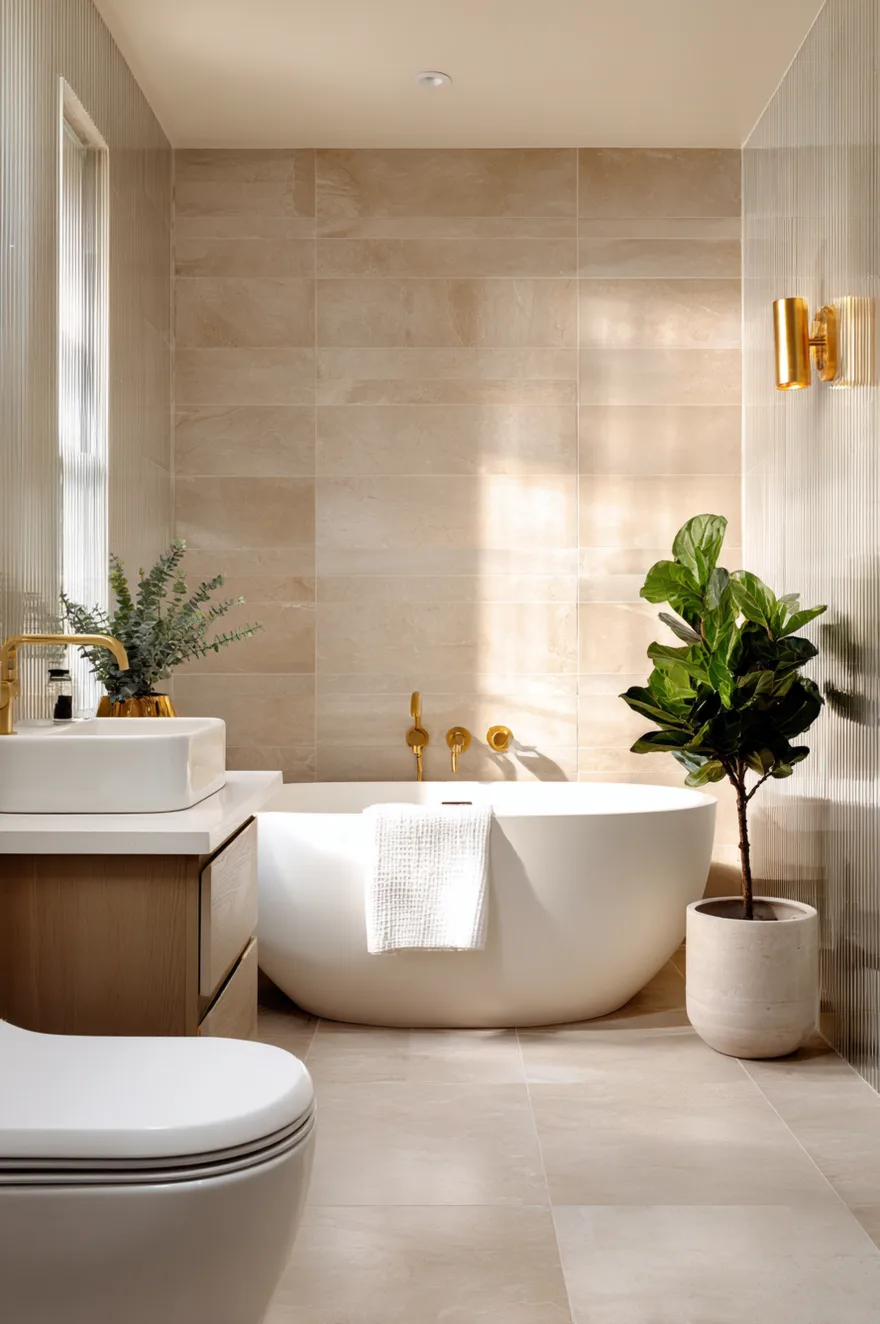
Large format tiles make small bathrooms feel bigger because they minimize grout lines, and fewer grout lines mean less visual interruption. Most people default to subway tile, and while subway tile works, it creates a busy grid that can make a small space feel cluttered.
Try 12×24 inch porcelain tiles in a muted warm gray or greige, laid in a stacked pattern instead of brick pattern. Stacked means the tiles line up vertically, creating clean uninterrupted lines that pull your eye up. It’s subtle, but it reads as more modern and more spacious than brick-laid subway.
If you want texture, use it strategically on one wall – behind the vanity or in the shower – and keep the other walls simple. I’ve used 3D wave tiles, ribbed tiles, and even natural stone mosaic as feature walls, but only on a single plane. The rest of the room stays neutral so the feature doesn’t overwhelm.
The Lighting Layer Most People Skip
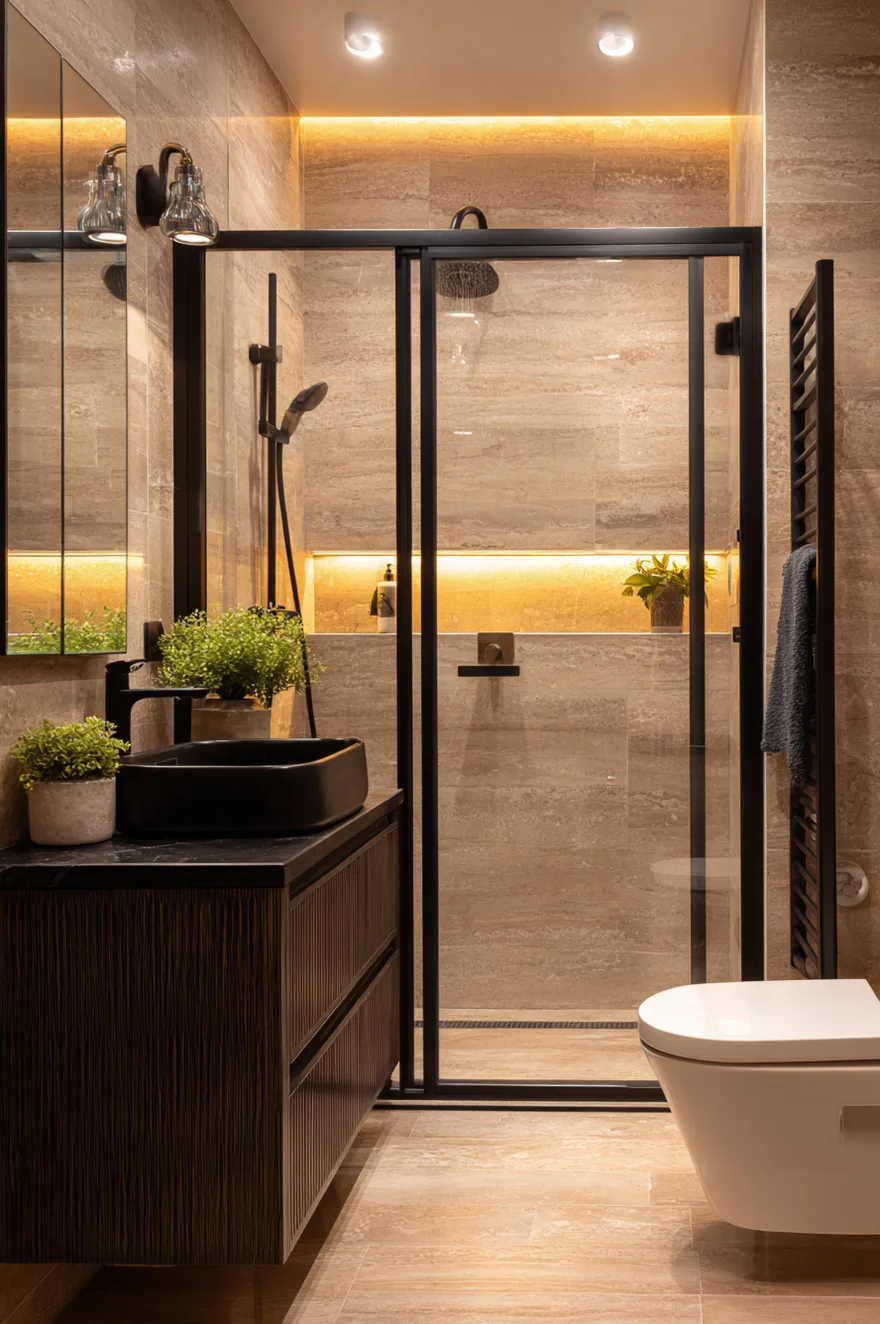
Small bathrooms need three layers of light – task, ambient, and accent – but most people install one overhead can light and call it done. That single light source creates harsh shadows on your face at the mirror and leaves the corners dark, which makes the room feel smaller.
Start with sconces flanking the mirror. Mount them at eye level, about 36 to 40 inches apart, so they light your face evenly. I prefer vertical sconces with exposed bulbs or cylindrical shades because they create clean lines and don’t project too far from the wall. Matte black or brushed brass, depending on your other finishes.
Add a recessed linear LED strip behind the mirror if it’s backlit, or use a lighted mirror with integrated LEDs. The halo of light around the mirror brightens the wall behind it and makes the whole vanity area feel more open. Then add recessed ceiling lights – two or three small aperture fixtures with warm 2700K bulbs – for general ambient light. Dimmers on everything. You want control over the mood, especially in a small space where light intensity can feel overwhelming.
Storage That Doesn’t Steal Floor Space
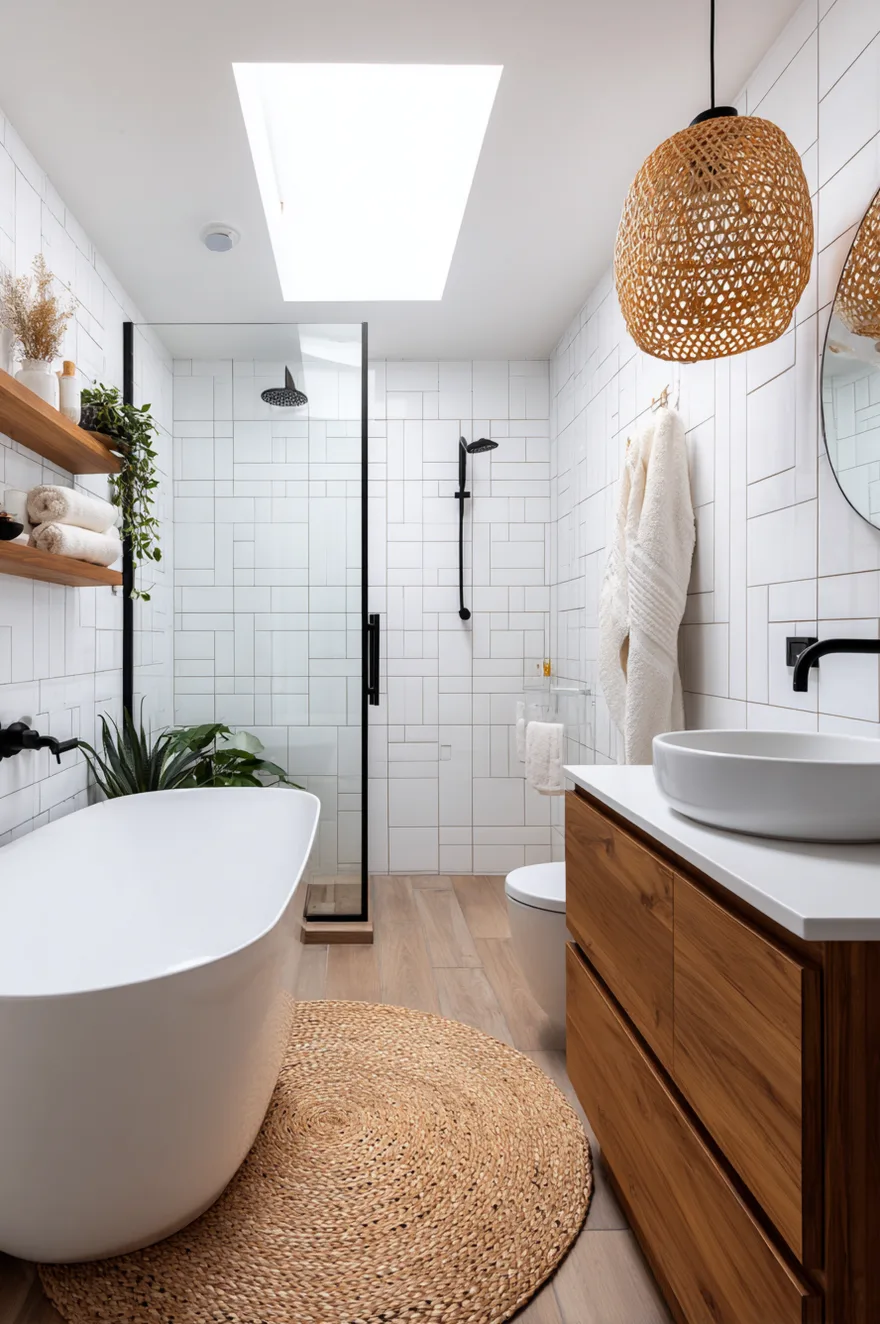
Vertical storage is how you add function without sacrificing square footage. Built-in niches in the shower wall, recessed medicine cabinets, and wall-mounted shelves all give you storage without eating into the room.
In the shower, recess a horizontal niche about chest height – roughly 48 inches off the floor – and make it wide enough to hold bottles without crowding. Tile the inside of the niche in the same material as the shower walls so it reads as part of the architecture, not an add-on. Add a second smaller niche lower down if you need it for razors or soap.
Above the toilet, install a shallow floating shelf or a cabinet if you need to hide things. Keep it under 8 inches deep so it doesn’t project too far. Behind the toilet is dead space anyway, so using the vertical plane there doesn’t cost you anything functionally.
For towels, skip the towel bar that sticks out 6 inches from the wall and use a ladder-style rack or wall-mounted hooks instead. The ladder leans against the wall or mounts flat, and hooks are nearly flush.
Matte Black Fixtures For A Modern Edge
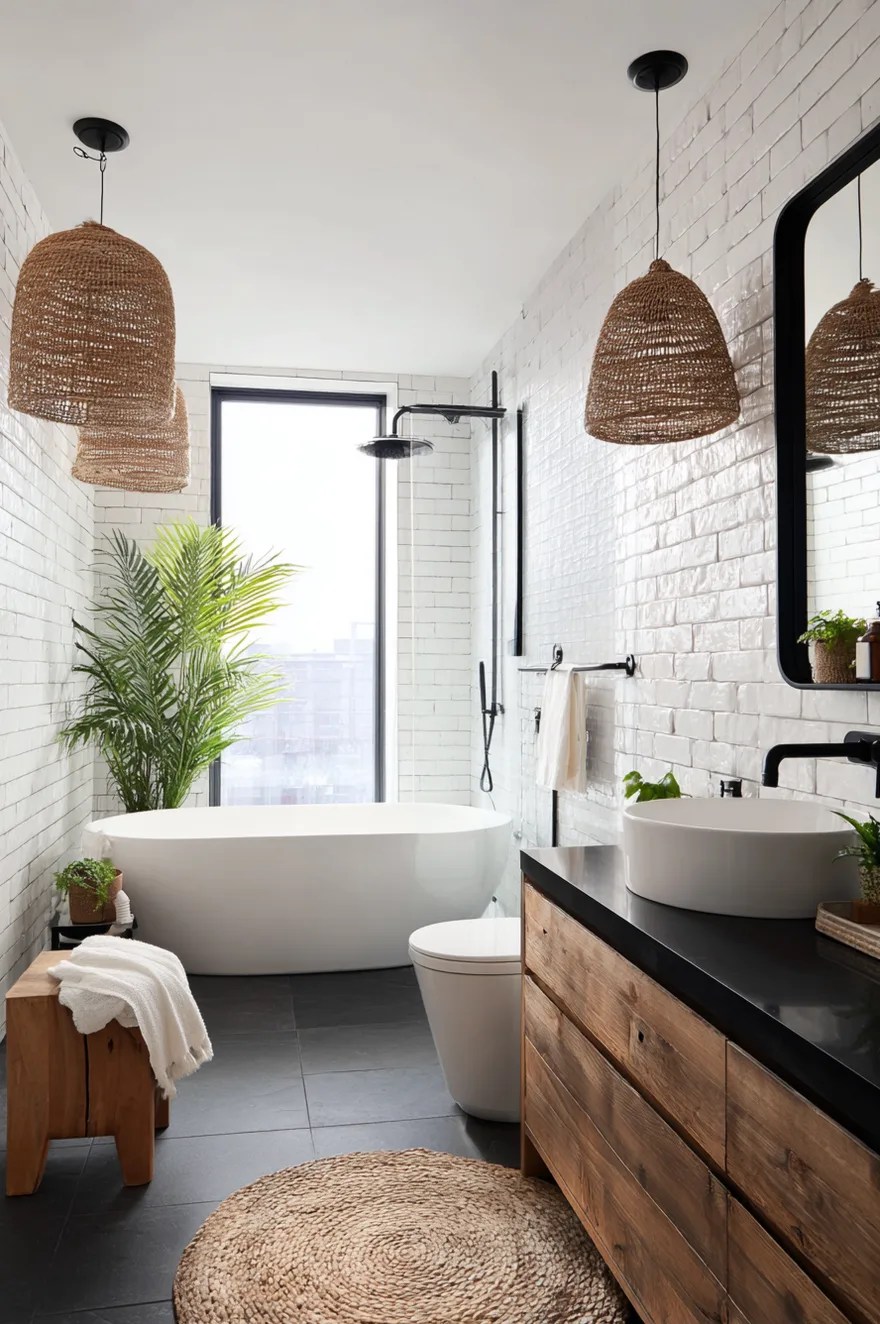
Matte black faucets, showerheads, and hardware have staying power because they create contrast without feeling heavy, and in a small bathroom, that contrast defines the space. Chrome and brushed nickel disappear against light tile. Black doesn’t.
Go with a wall-mounted faucet instead of a deck-mounted one if your vanity allows it. The wall-mount keeps the counter clear and creates a cleaner line. Pair it with a single-handle lever for daily use – it’s more intuitive than a two-handle setup and takes up less visual space.
For the shower, use a thermostatic valve with a separate volume control and a diverter if you’re running both a overhead rain head and a handheld. The separate controls give you precise temperature without constant adjustment. Mount the rain head directly overhead – not on the wall – so the water falls straight down. That overhead position feels more spa-like and keeps water contained.
Fair warning: matte black shows water spots more than you’d expect. It’s not as bad as polished chrome, but it’s not maintenance-free either. A quick wipe-down after each shower keeps it looking intentional instead of neglected.
Small Bathroom Layout With Tub And Shower
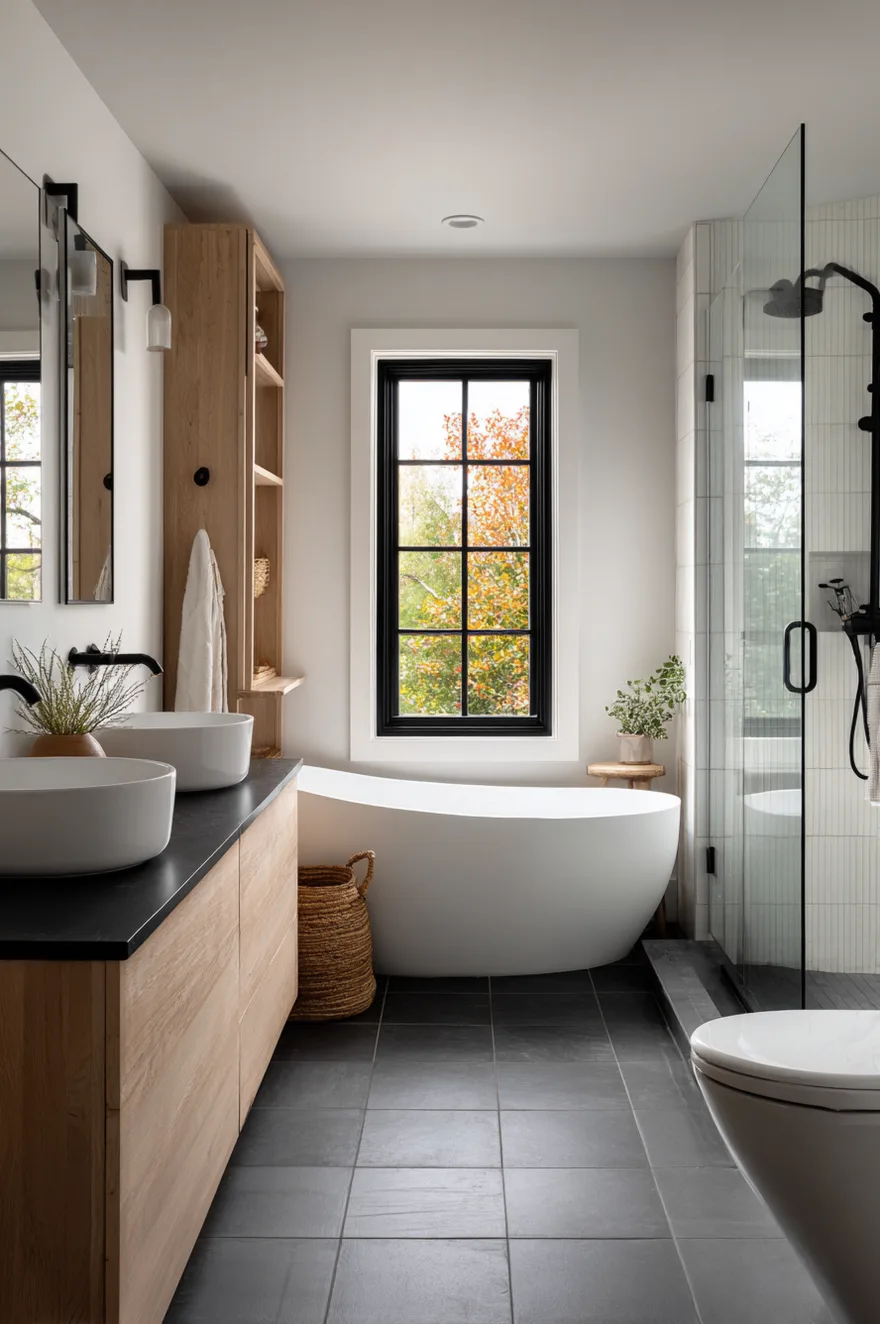
Fitting both a tub and a shower into a small bathroom sounds impossible, but it works if you’re willing to think beyond the standard tub-shower combo. A freestanding tub positioned near a window with a separate walk-in shower on the opposite wall gives you both functions without the visual bulk of a combined unit.
The tub becomes a focal point instead of something you’re trying to hide. Choose a compact freestanding tub – around 60 inches long instead of the standard 66 – with a modern oval or angular shape. Position it so it’s the first thing you see when you walk in. That placement makes the room feel intentional, like the tub is there because you wanted it, not because you had to cram it in.
The shower goes behind the door or in the corner farthest from the entrance. Keep it simple: frameless glass, one fixed panel, matte black fixtures, and a linear drain. The simplicity of the shower balances the sculptural presence of the tub, and your eye registers both elements as deliberate design choices rather than compromises.
Mirrors That Make The Ceiling Feel Higher
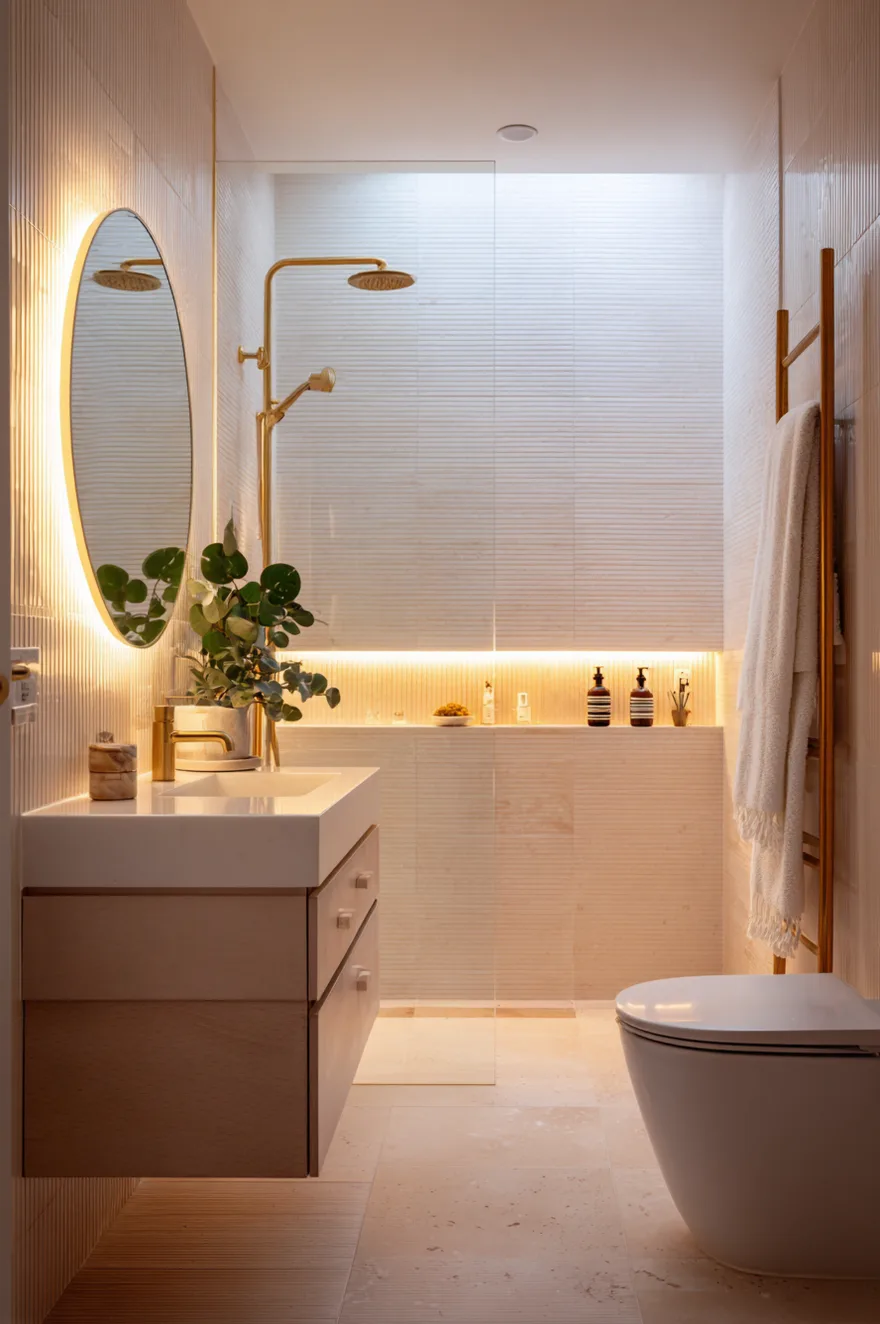
A tall vertical mirror pulls your eye up and makes the room feel taller than it actually is. Most people default to a horizontal mirror that’s wider than it is tall, which emphasizes the width of the wall but does nothing for the vertical dimension.
Try a mirror that’s at least 36 inches tall, ideally taller. Round mirrors work well because they soften the hard angles of tile and cabinetry, but an arched mirror or a rectangular mirror with rounded corners gives you the same effect. If you go rectangular, orient it vertically – portrait, not landscape.
Backlit mirrors with integrated LEDs create a floating effect that adds depth to the wall. The light wraps around the perimeter of the mirror, and that glow separates the mirror plane from the wall plane behind it, which tricks your brain into perceiving more space than actually exists.
Hang the mirror so the center is at eye level, not the top. A common mistake is mounting it too high, which leaves a gap between the bottom of the mirror and the counter. That gap reads as wasted space.
Why I Always Specify A Linear Drain
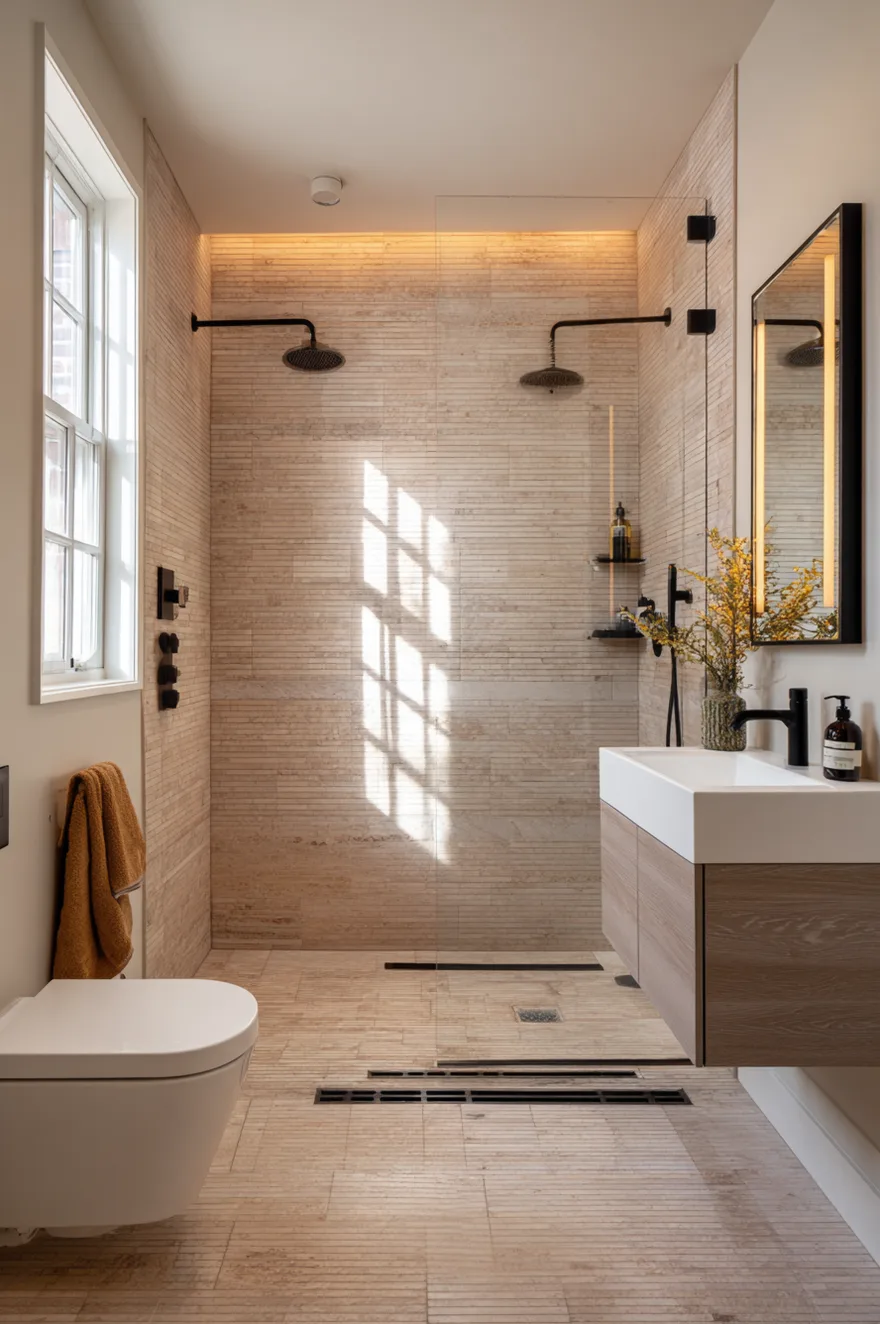
Linear drains sit flush with the shower floor along one edge instead of having a circular drain in the center, and this changes how you tile the shower. With a center drain, your tile slopes toward the middle from all four sides, which creates a subtle bowl shape. With a linear drain along one edge, the entire floor slopes in one direction, which means you can run large format tiles uninterrupted from the front of the shower to the back.
That continuity matters. The unbroken tile lines make the shower floor look longer, and the single-direction slope is easier for tile setters to execute correctly. I’ve also found that linear drains positioned at the entry of the shower – right at the threshold – do a better job of catching water before it escapes onto the bathroom floor.
The drain itself should disappear. Black or brushed nickel grates that match your fixtures, not chrome. Some linear drains come with tile-insert grates where you can place the same tile used on the floor directly into the drain cover, which makes the drain nearly invisible.
Small Bathroom Ideas On A Budget That Don’t Look Cheap
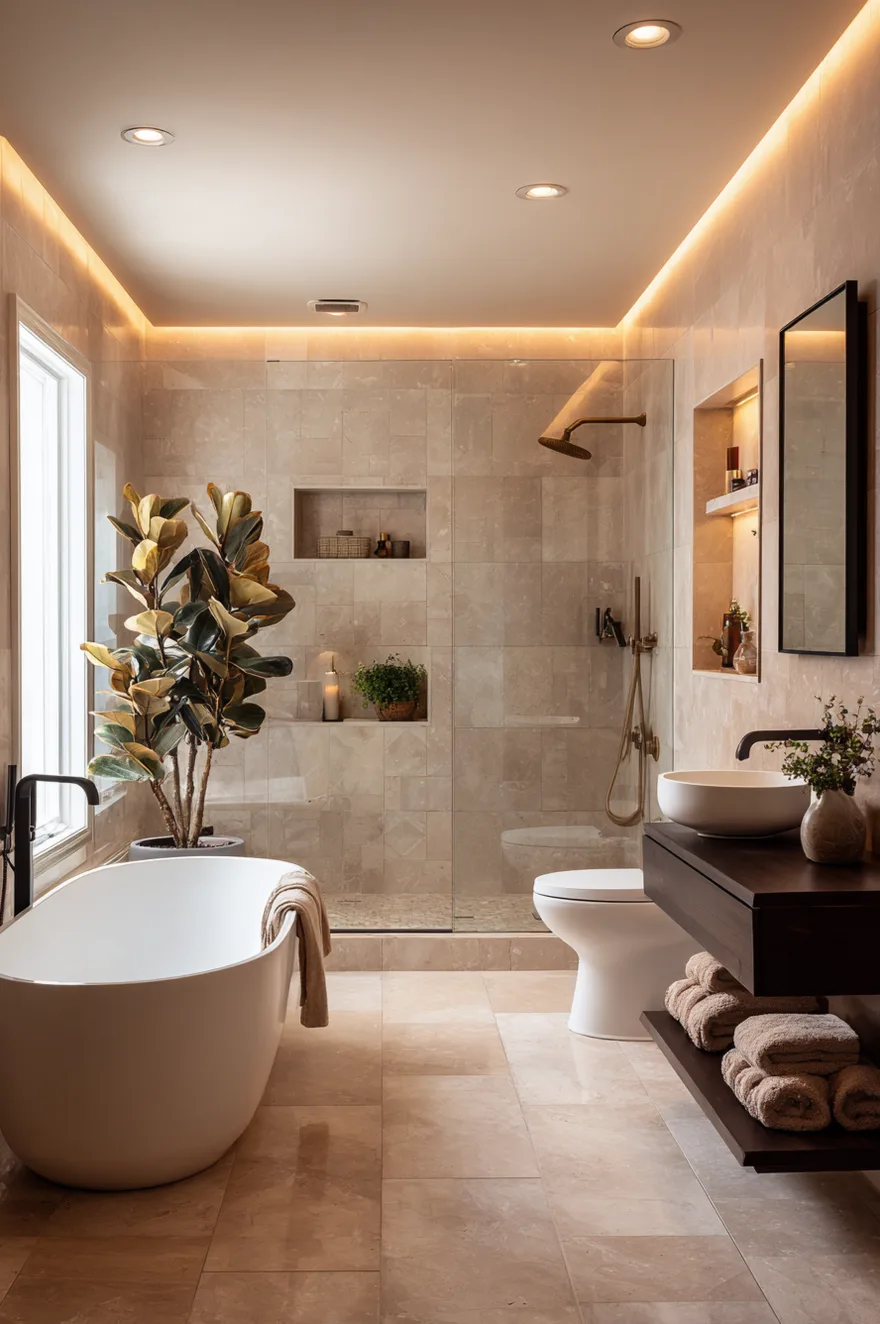
A small bathroom remodel doesn’t have to cost $25,000 if you’re strategic about where you spend. The three things that have the biggest visual impact are tile, fixtures, and lighting. If you get those right, you can save on the stuff nobody notices.
For tile, skip natural stone and use porcelain that mimics stone. Modern porcelain is nearly indistinguishable from limestone or travertine, it’s more durable, it’s easier to clean, and it costs a third of the price. Buy from a tile specialty shop instead of a big box store – the selection is better, and they’ll have larger format options.
Spend on the faucet and showerhead. A $300 matte black faucet looks exponentially better than a $75 chrome one, and since it’s a focal point, that’s where people’s eyes go. Save on the toilet – a $200 wall-hung toilet from a major manufacturer works just as well as a $600 designer one, and once it’s installed, you mostly see the clean lines, not the brand name.
For the vanity, buy a pre-made floating vanity and upgrade the hardware. Swap the stock pulls for unlacquered brass or leather pulls. That small swap elevates the whole piece.
The Shower Niche Position Nobody Gets Right
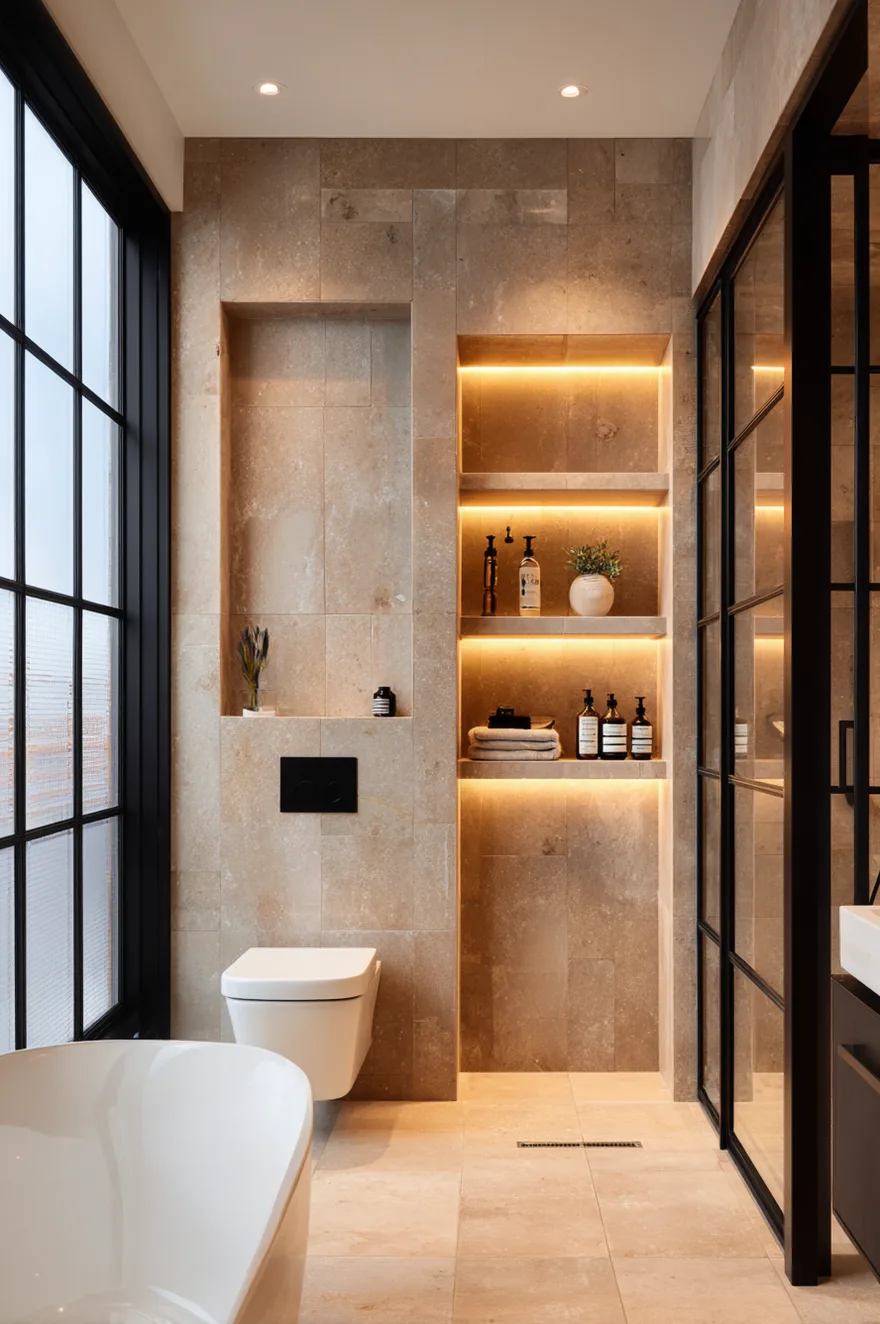
Most shower niches get installed at shoulder height, which makes sense for grabbing shampoo but creates an awkward visual break in the tile pattern. A better position is between waist and chest height – around 48 inches off the shower floor – where it’s still functional but integrates more naturally into the wall composition.
Make the niche horizontal instead of vertical. A niche that’s 24 to 30 inches wide and 6 to 8 inches tall holds multiple bottles without looking like a portal into another dimension. If you tile the niche in the same material as the shower walls and align the grout lines, it reads as a subtle recess rather than an afterthought.
Light the niche. A small LED strip along the top edge or integrated into the back wall makes the niche glow, which adds a layer of ambient light to the shower and highlights your (hopefully matching and attractive) bottles.
Warm Neutrals Over Cool Grays
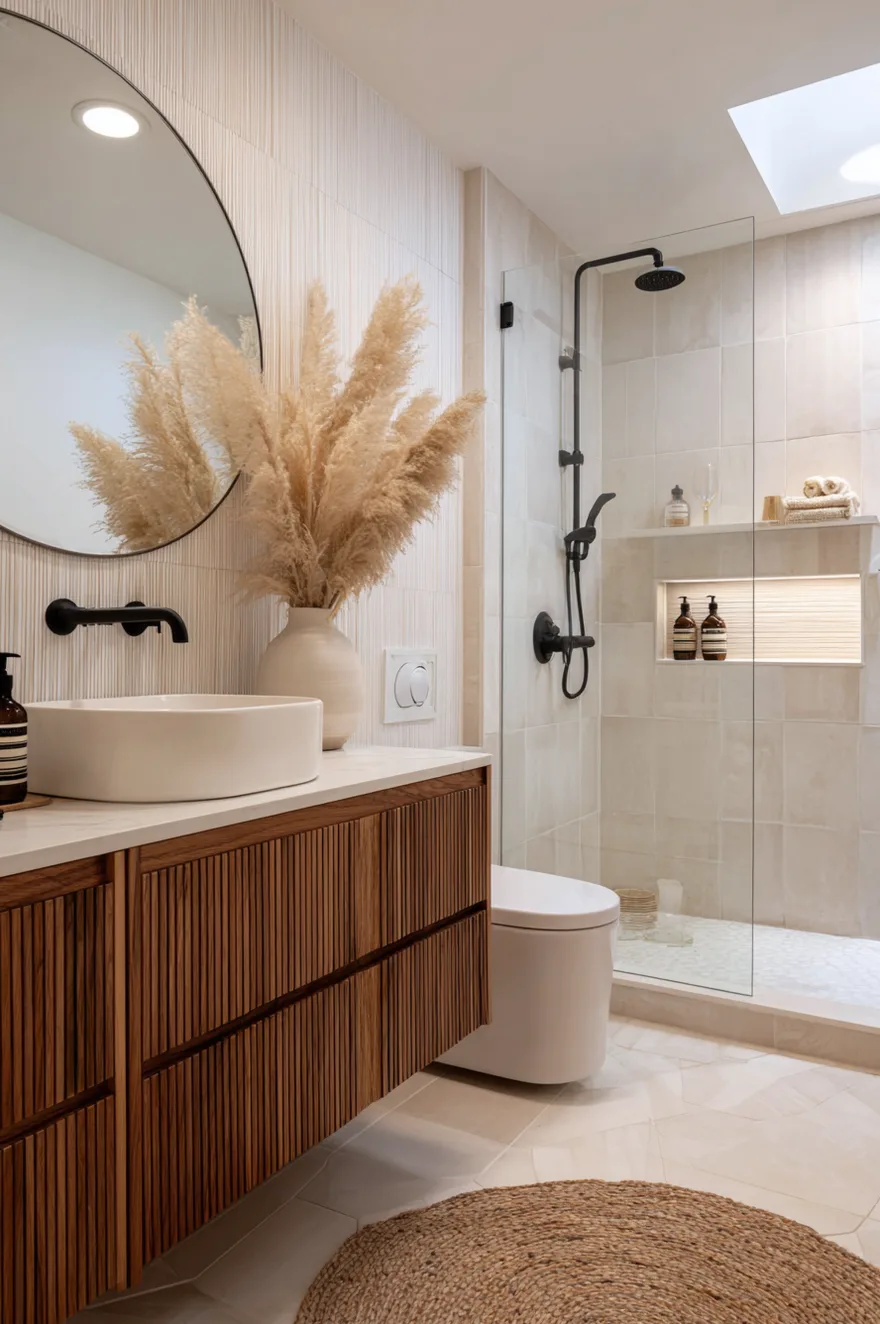
Warm beige, taupe, and greige tile feel more inviting than cool gray, especially in small bathrooms where you’re trying to create a spa-like atmosphere rather than a sterile one. Cool grays dominated bathroom design for years, but they can read as cold and institutional if you don’t balance them with enough warm wood and brass.
I’m seeing more projects spec’d in warm neutrals – travertine-look porcelain, limestone, sandstone textures – paired with natural wood vanities and matte brass or black fixtures. The warmth makes the room feel more like a place you want to spend time, not just a functional box you move through quickly.
If you’re nervous about beige feeling dated, the trick is in the undertone. Look for tiles with a slight gray or mushroom undertone rather than yellow or peach. Those muted warm tones feel modern and will hold up longer than stark white or icy gray.
Wall-Hung Toilets Free Up Floor Space
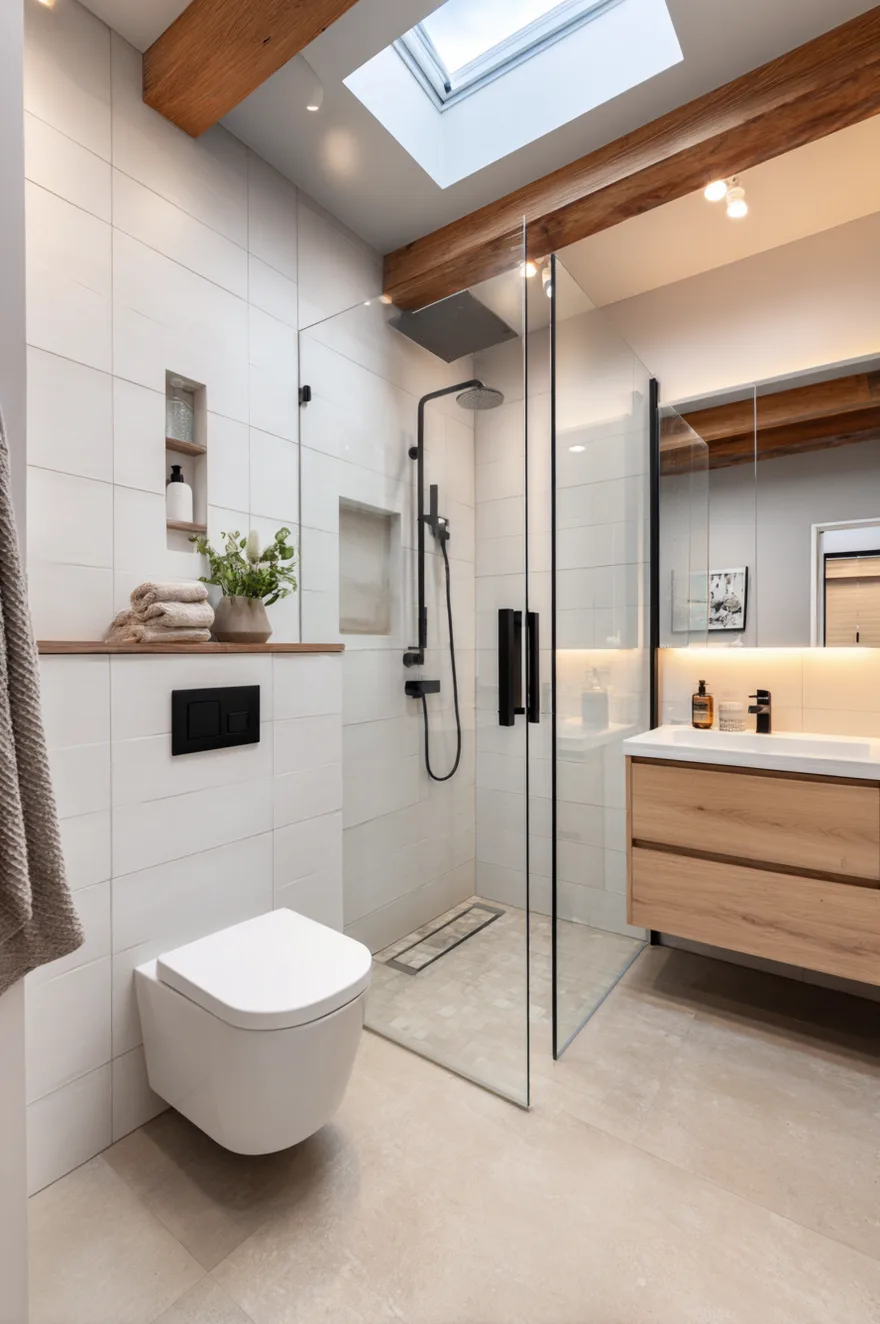
A wall-hung toilet with a concealed tank opens up the floor underneath, which makes the bathroom feel less crowded and makes cleaning significantly easier. The entire toilet – bowl and tank – mounts to a carrier frame that’s installed inside the wall, so all you see is the bowl projecting from the wall and a flush plate.
The carrier frame is the critical component. It needs to be properly anchored to the studs and the floor, because it’s supporting the weight of the toilet and the person using it. This is not a DIY-friendly installation unless you’re comfortable opening up walls and moving plumbing.
The flush plate is where you get to make a design decision. Black matte, brushed nickel, or even wood veneer plates are available. Match it to your other hardware for a cohesive look. The plate sits at the center of the tile wall behind the toilet, so it becomes a small focal point whether you want it to be or not.
Small Bathroom Ideas With Wallpaper For Texture
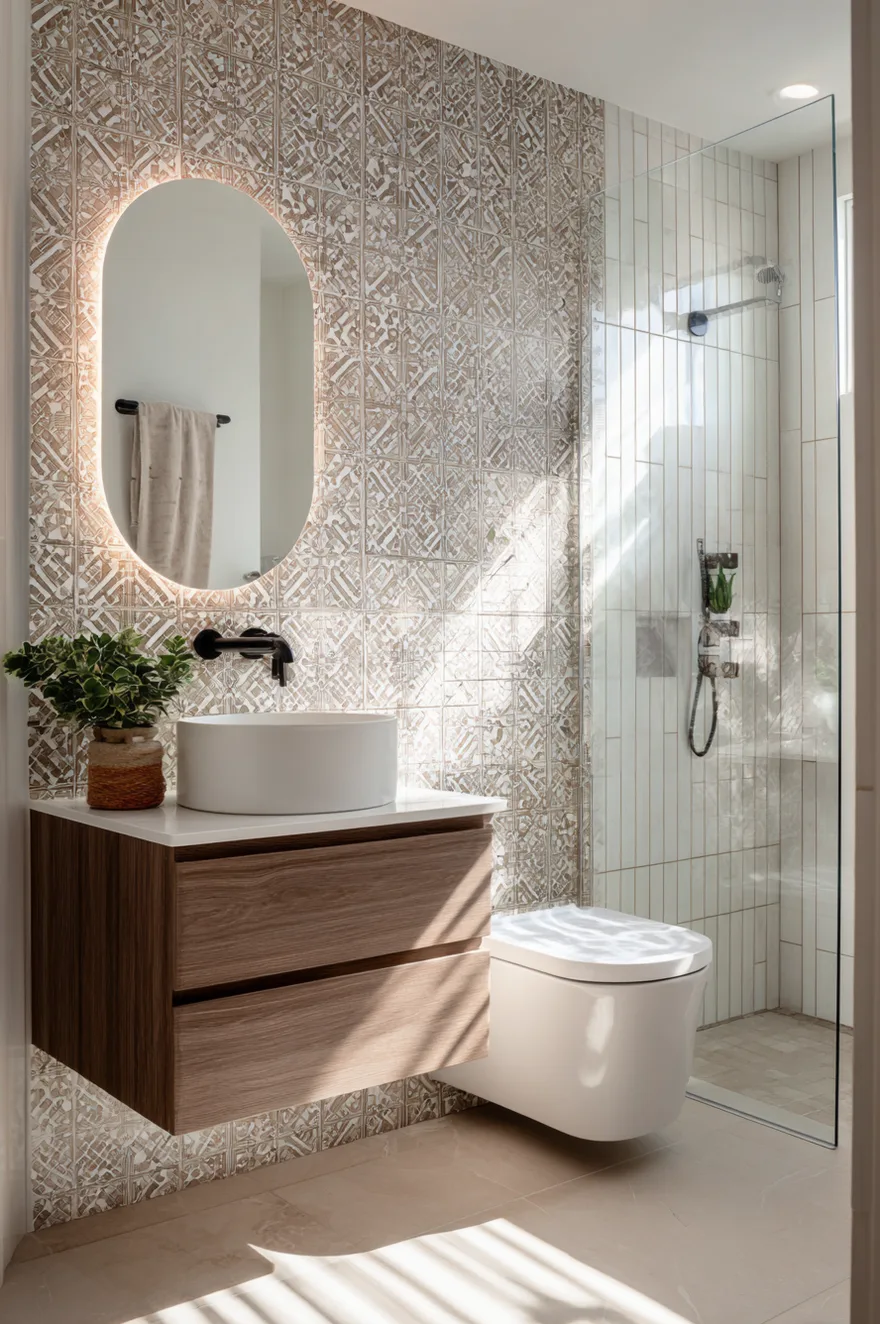
Wallpaper in a bathroom adds pattern and texture without permanent commitment, and it works especially well in powder rooms or half baths where moisture exposure is minimal. For full bathrooms with showers, you can still use wallpaper on the wall farthest from the shower or above a tile wainscot.
Choose a vinyl-coated or solid vinyl wallpaper that’s rated for high-moisture areas. Grasscloth and paper-based wallpapers will eventually peel or mildew in a bathroom with poor ventilation. Look for geometric patterns, subtle textures, or botanical prints in muted colors that tie into your tile and fixture palette.
Install it on the wall behind the vanity or on the wall opposite the shower where it won’t get direct water spray. Tile the shower and toilet area as usual, and let the wallpaper handle the decorative moment. This approach gives you visual interest without the cost and labor of tiling every surface.
Run a good exhaust fan. Wallpaper needs air circulation to survive in a bathroom. A fan rated for the room’s cubic footage that vents to the exterior – not into the attic – is essential.
How I’d Handle A 5×8 Bathroom Layout
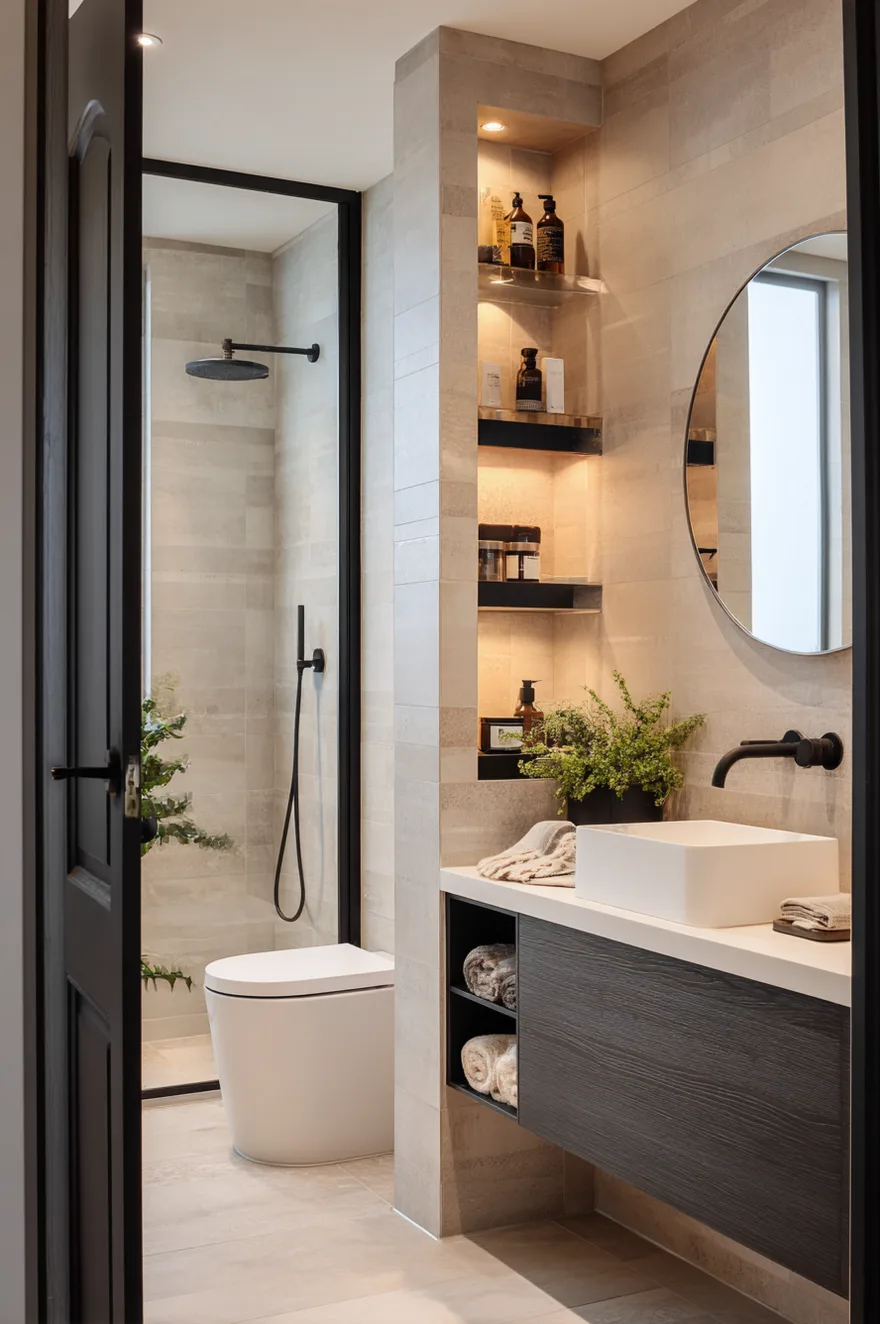
In a 5×8 bathroom, the door placement dictates everything else. If the door is on the 5-foot wall, you have an 8-foot run to work with, which gives you options. Put the vanity on one long wall, the toilet next to it, and the shower on the opposite long wall. This creates a galley-style layout that’s efficient and doesn’t waste space on circulation.
The vanity should be 36 to 42 inches wide, wall-mounted, with a single sink. Next to it, leave about 15 inches for the toilet – that’s the minimum code clearance from the toilet centerline to the wall. The shower takes up the remaining space on the opposite wall, roughly 36 inches wide and as deep as the room allows.
If the door is on the 8-foot wall, you lose some of that length to door swing, which makes the layout tighter. In that case, I’d put the shower at the far end opposite the door, the vanity on one side wall, and the toilet on the other side wall. This creates a more compartmentalized layout where each element has its own zone.
Both layouts work. The first one feels more open because the long sightline runs the length of the room. The second one feels more private because the shower is tucked away from the entrance.
Accent Walls With Wood Slat Paneling

Vertical wood slat paneling on one wall adds warmth and dimension without committing to wood throughout the entire bathroom. I use this detail behind the vanity or on the wall opposite the shower entrance, where it becomes a focal point without interfering with the wet areas.
The slats should be evenly spaced – typically 1-inch slats with 1-inch gaps, or 2-inch slats with 1-inch gaps – mounted to a backer board or directly to furring strips on the wall. Use a wood species that handles moisture well, like white oak or teak, and finish it with a water-resistant sealer. The slats run floor to ceiling for maximum vertical emphasis.
Behind the slats, paint the wall a color slightly darker than the wood so the shadows between slats create depth. This layering effect makes the wall feel dimensional rather than flat.
You can integrate LED strip lighting behind the slats at the top or bottom edge, which makes the wall glow and adds another layer of ambient light to the room. It’s a detail that looks expensive but doesn’t require custom millwork.
Rustic Meets Modern With The Right Balance
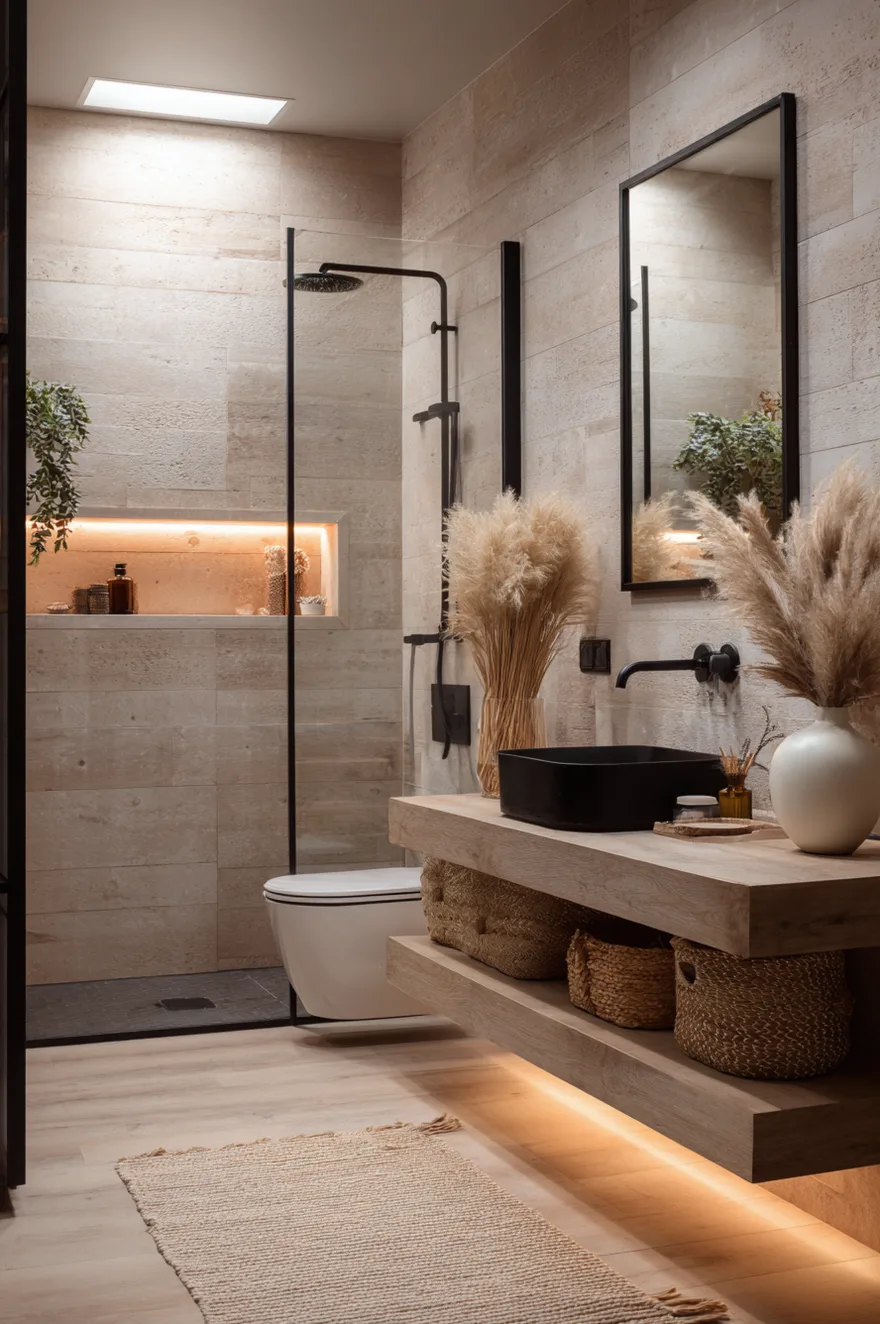
Mixing rustic and modern elements in a small bathroom works when you keep the proportions in check. Too much rustic – reclaimed wood, rough stone, iron hardware – and the room feels heavy. Too much modern – stark white, chrome, glass – and it feels cold. The balance happens when you use modern shapes and clean lines but bring in warmth through natural materials.
A floating vanity in walnut or oak with visible grain, paired with a white vessel sink and matte black faucet, gives you that mix. The wood is rustic, the sink and faucet are modern, and together they create tension that feels intentional.
Add texture in small doses: a woven basket under the vanity for rolled towels, a jute rug on the floor, a ceramic vase with dried grasses on the counter. These organic elements soften the hard surfaces without overwhelming the space.
Stick with large format tile in neutral tones for the walls and floor so the rustic details stand out against a calm backdrop. If everything is textured and busy, the room shrinks visually.
Boho Small Bathroom Ideas With Plants And Texture
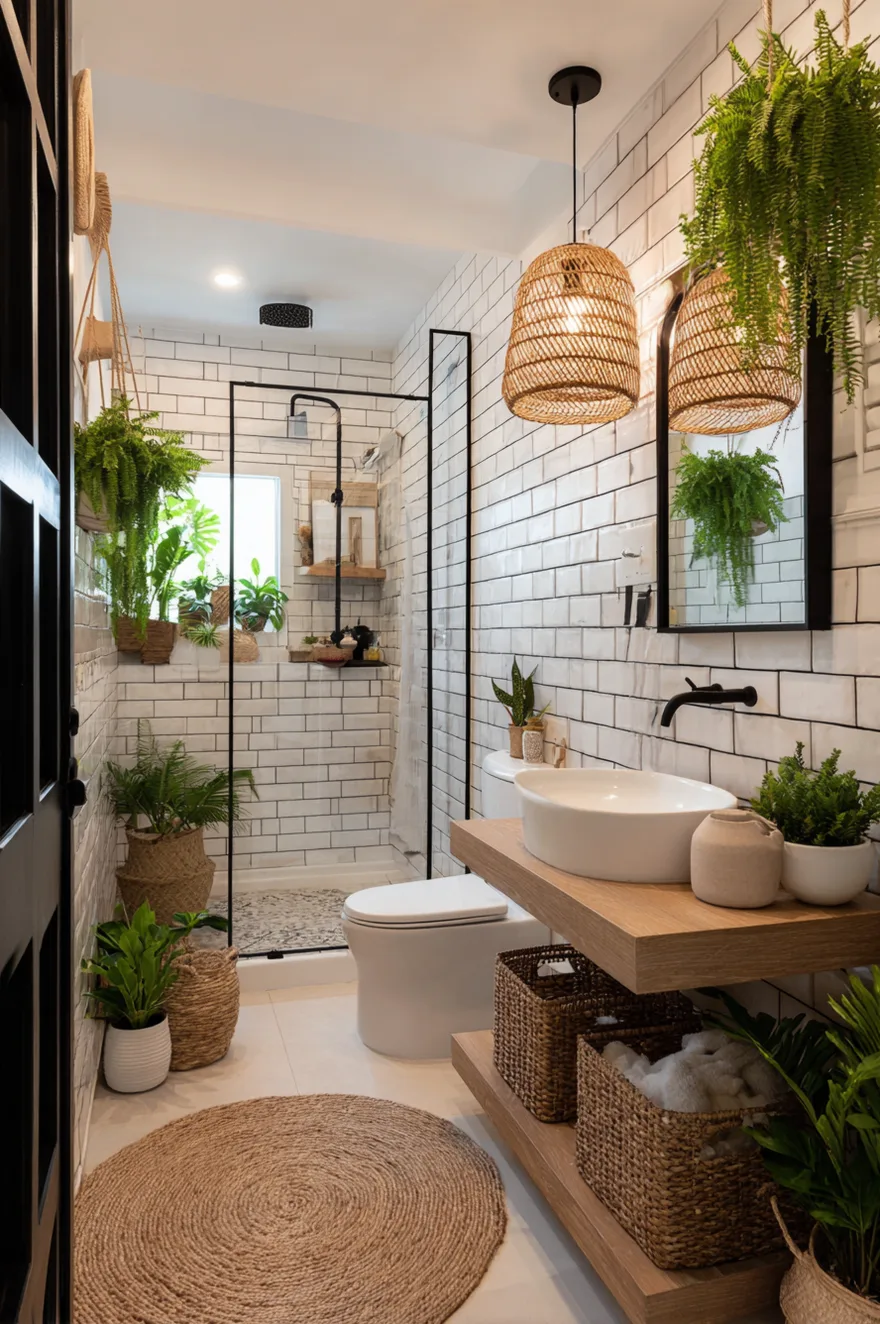
A boho bathroom in a small space leans on plants, natural textures, and a neutral palette with warm undertones. Think rattan, jute, ceramic, unfinished wood, and lots of greenery – but edited down so it doesn’t feel cluttered.
Start with a simple neutral tile – white, cream, or warm beige – and add texture through accessories rather than through the architecture. A jute rug, woven baskets for storage, macramé wall hangings, and ceramic planters all bring that boho warmth without requiring a full remodel.
Plants are essential. A large potted plant – a fiddle leaf fig, a snake plant, or a monstera – in the corner near the window, plus a few smaller plants on the vanity or on wall-mounted shelves. Real plants if you have the light and the commitment, high-quality faux if you don’t. The greenery softens the hard tile surfaces and makes the room feel alive.
Keep the fixtures simple and modern so the space doesn’t tip into overly decorated. Matte black faucets, a frameless mirror, and a floating wood vanity anchor the boho details with clean lines.
Putting It All Together In Your Small Bathroom
Small bathrooms work when every decision serves two purposes – function and the perception of space. Floating vanities give you storage and make the floor feel bigger. Walk-in showers eliminate visual barriers and simplify the layout. Large format tile reduces grout lines and creates calm. Matte black fixtures add contrast that defines the room without adding weight. Warm neutrals make the space feel intentional instead of accidental.
Pick three elements from this list that will have the biggest impact in your space – for most people, that’s the vanity, the shower configuration, and the tile – and get those right before you worry about the smaller details. A small bathroom that nails the layout and the materials will feel twice as big as one that tries to fix spatial issues with decorative tricks.
I hope you find one of these small bathroom ideas that you like and plan to try first.
See you soon,
Rachel